


Install & More
Everything you need to know about the Founders Carbon Headlights for the Ferrari 360
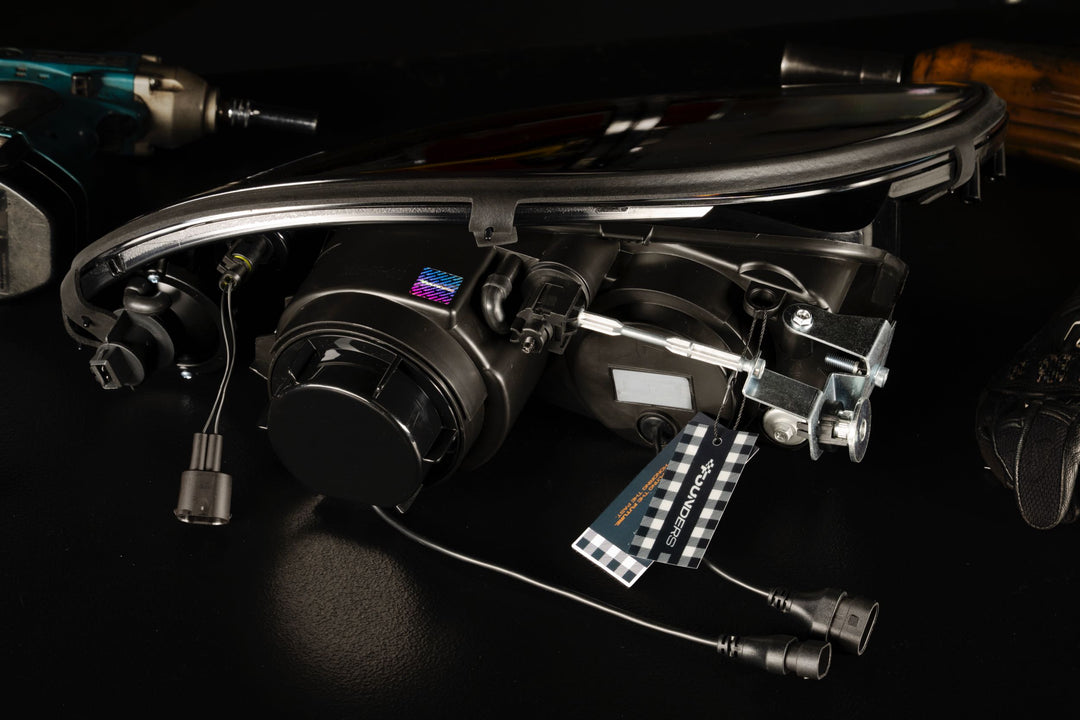
Direct factory replacement, requiring no modifications while maintaining OEM fitment and wiring compatibility. These headlights are compatible with 360 Coupe, 360 Spider, and 360 Challenge Stradale.
Built with all-new modernized components to resist fading & yellowing like your old OEM Lights. Our lenses are produced from Mitsubishi Lupilon S3000UR Polycarbonate, and then protected with a UV-resistant surface coating (KCC3000 from Korea).
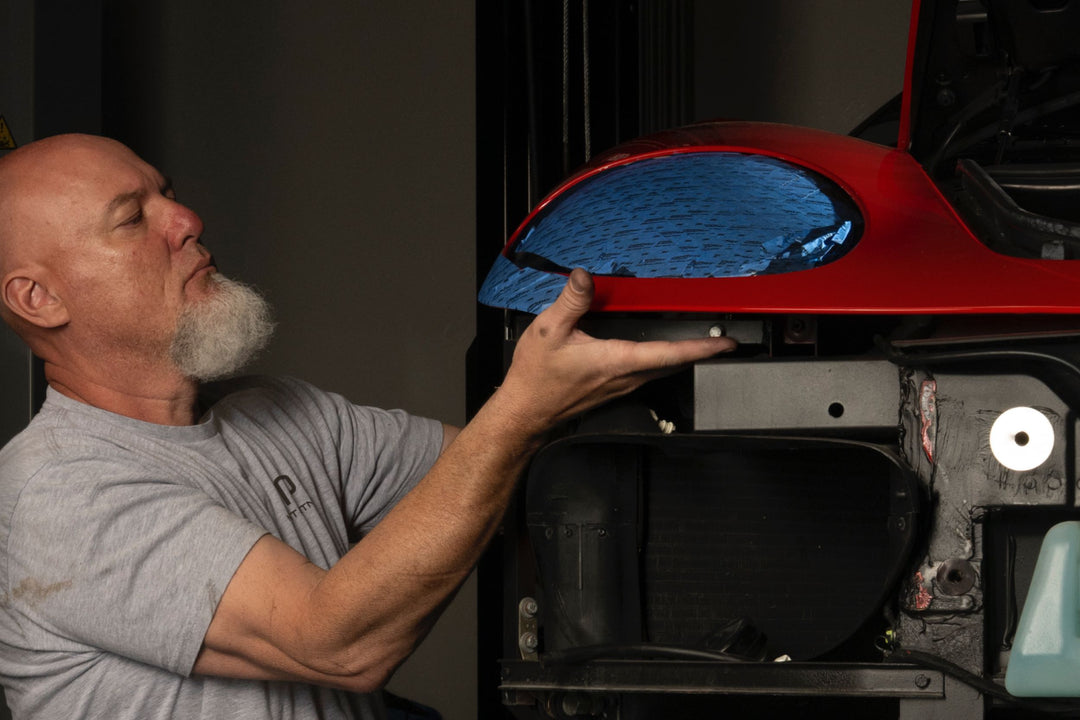
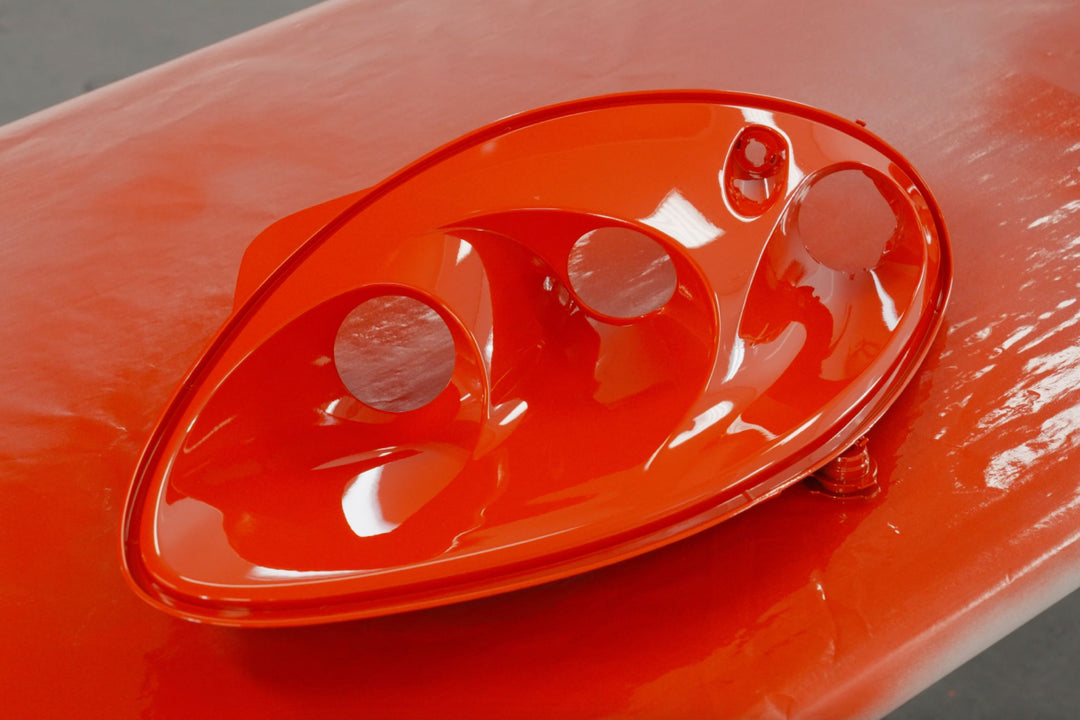
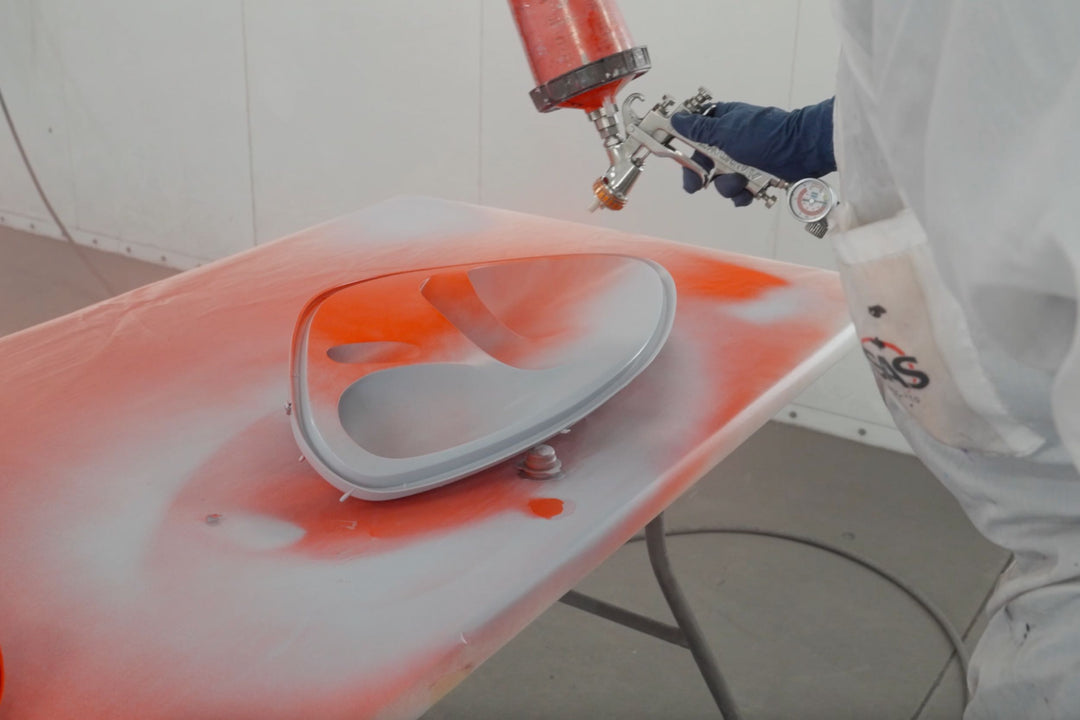
These paint-matchable Ferrari 360 headlights arrive unsealed, allowing you to customize the inner bezel for a seamless OE-style finish. Perfect for achieving a true factory look, they feature a plastic bezel ready for body color. We recommend professional painting & sealing for optimal durability and moisture resistance.
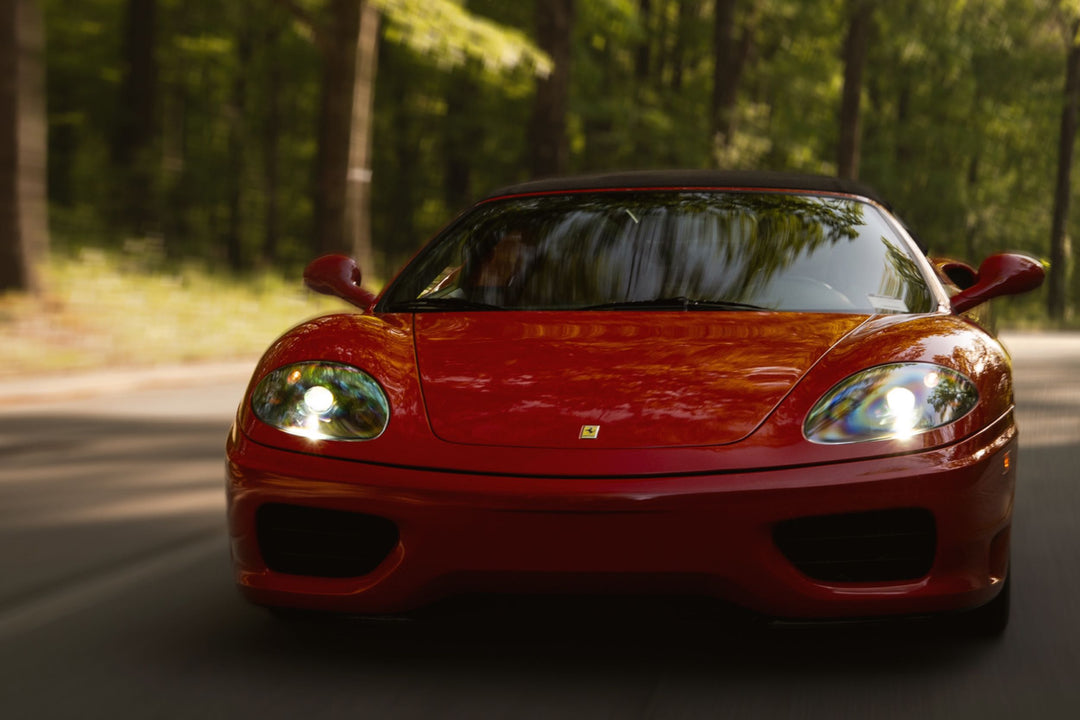
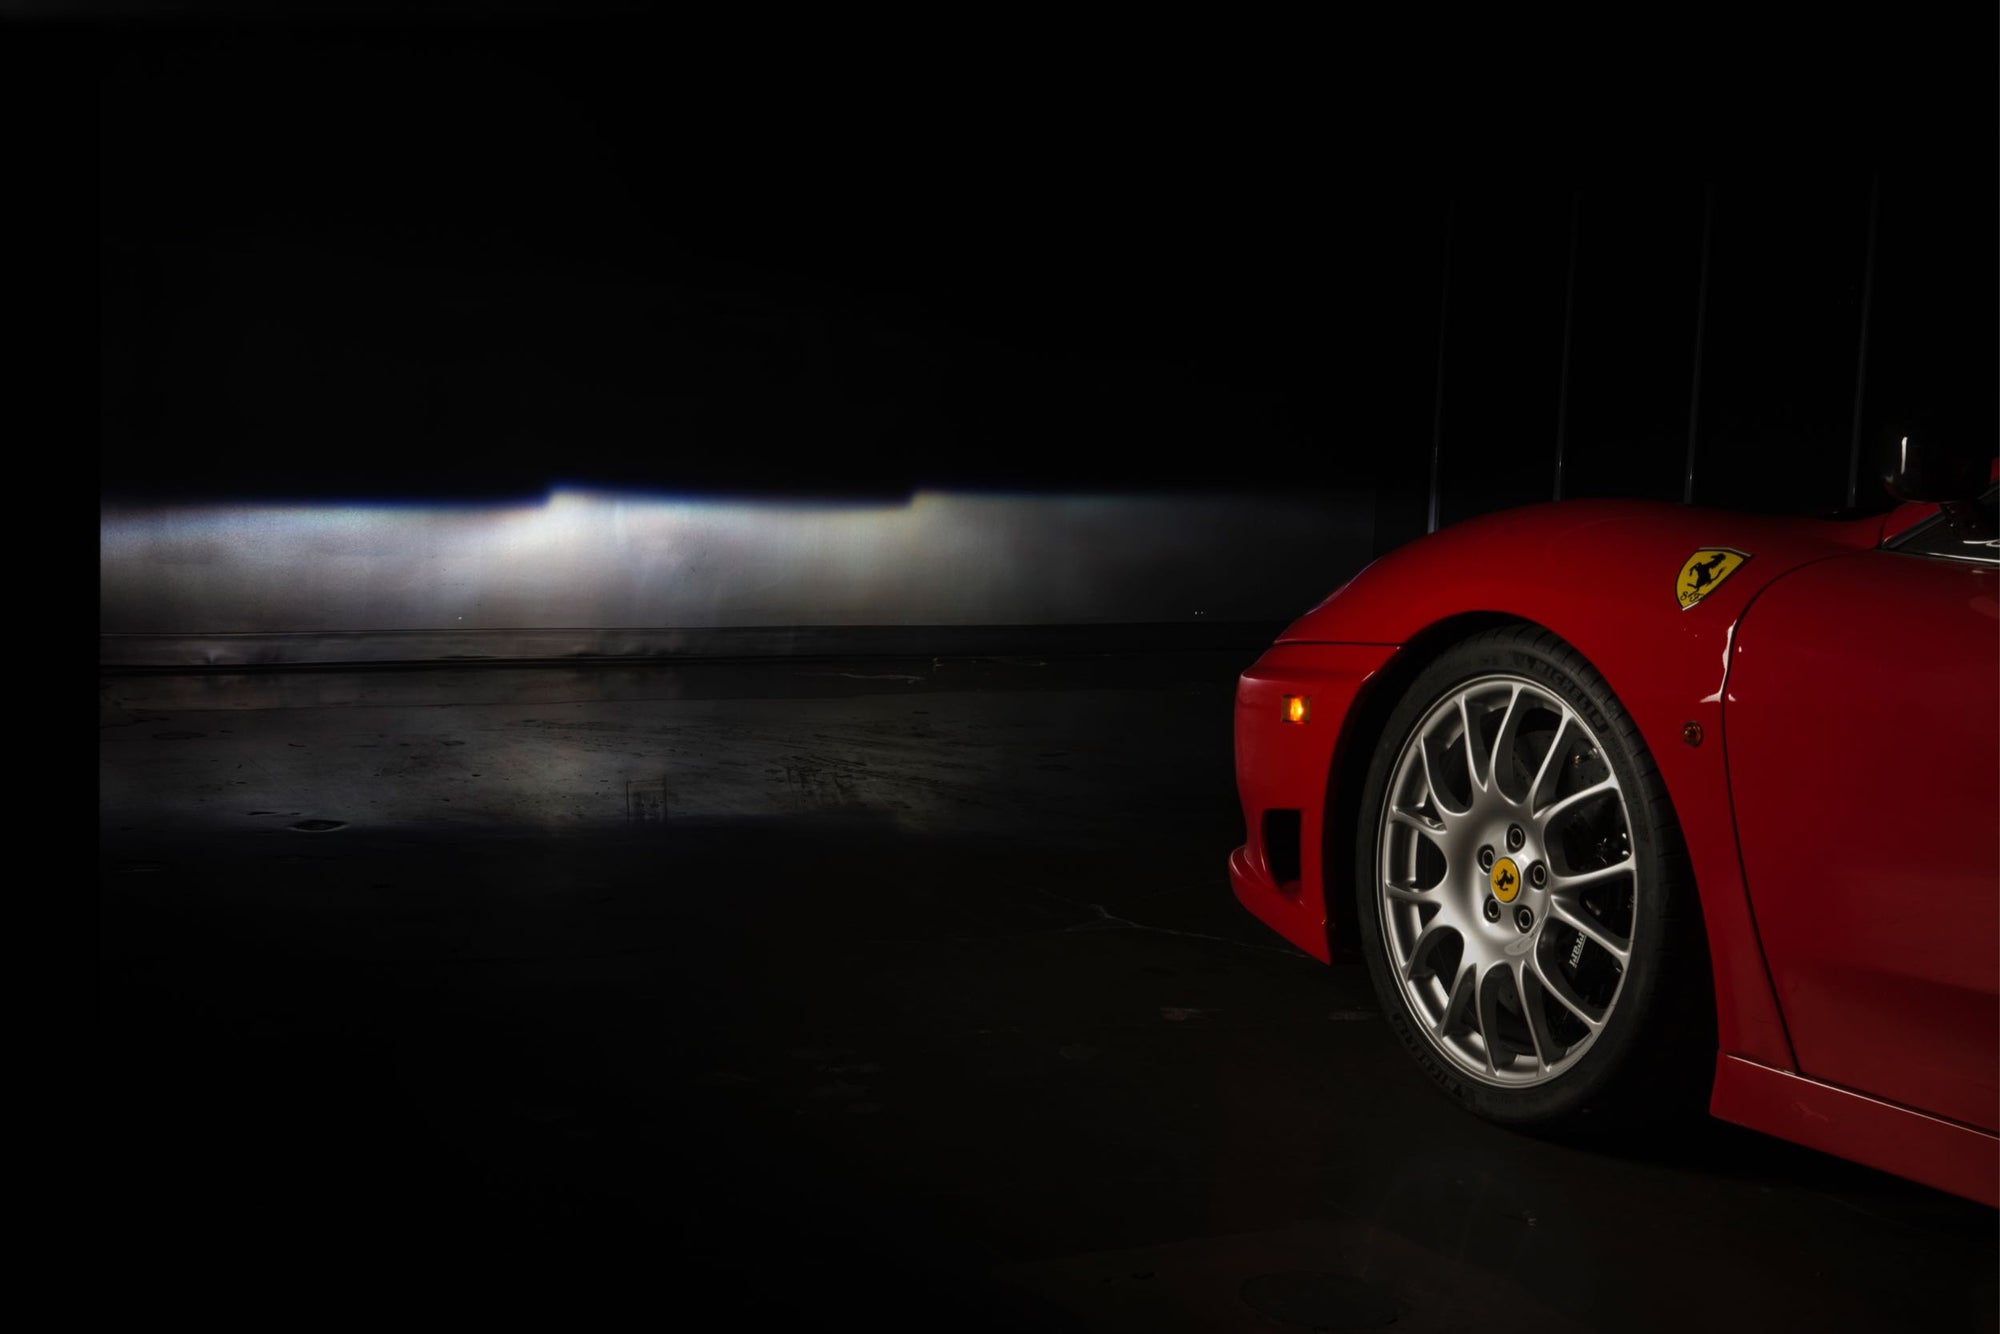
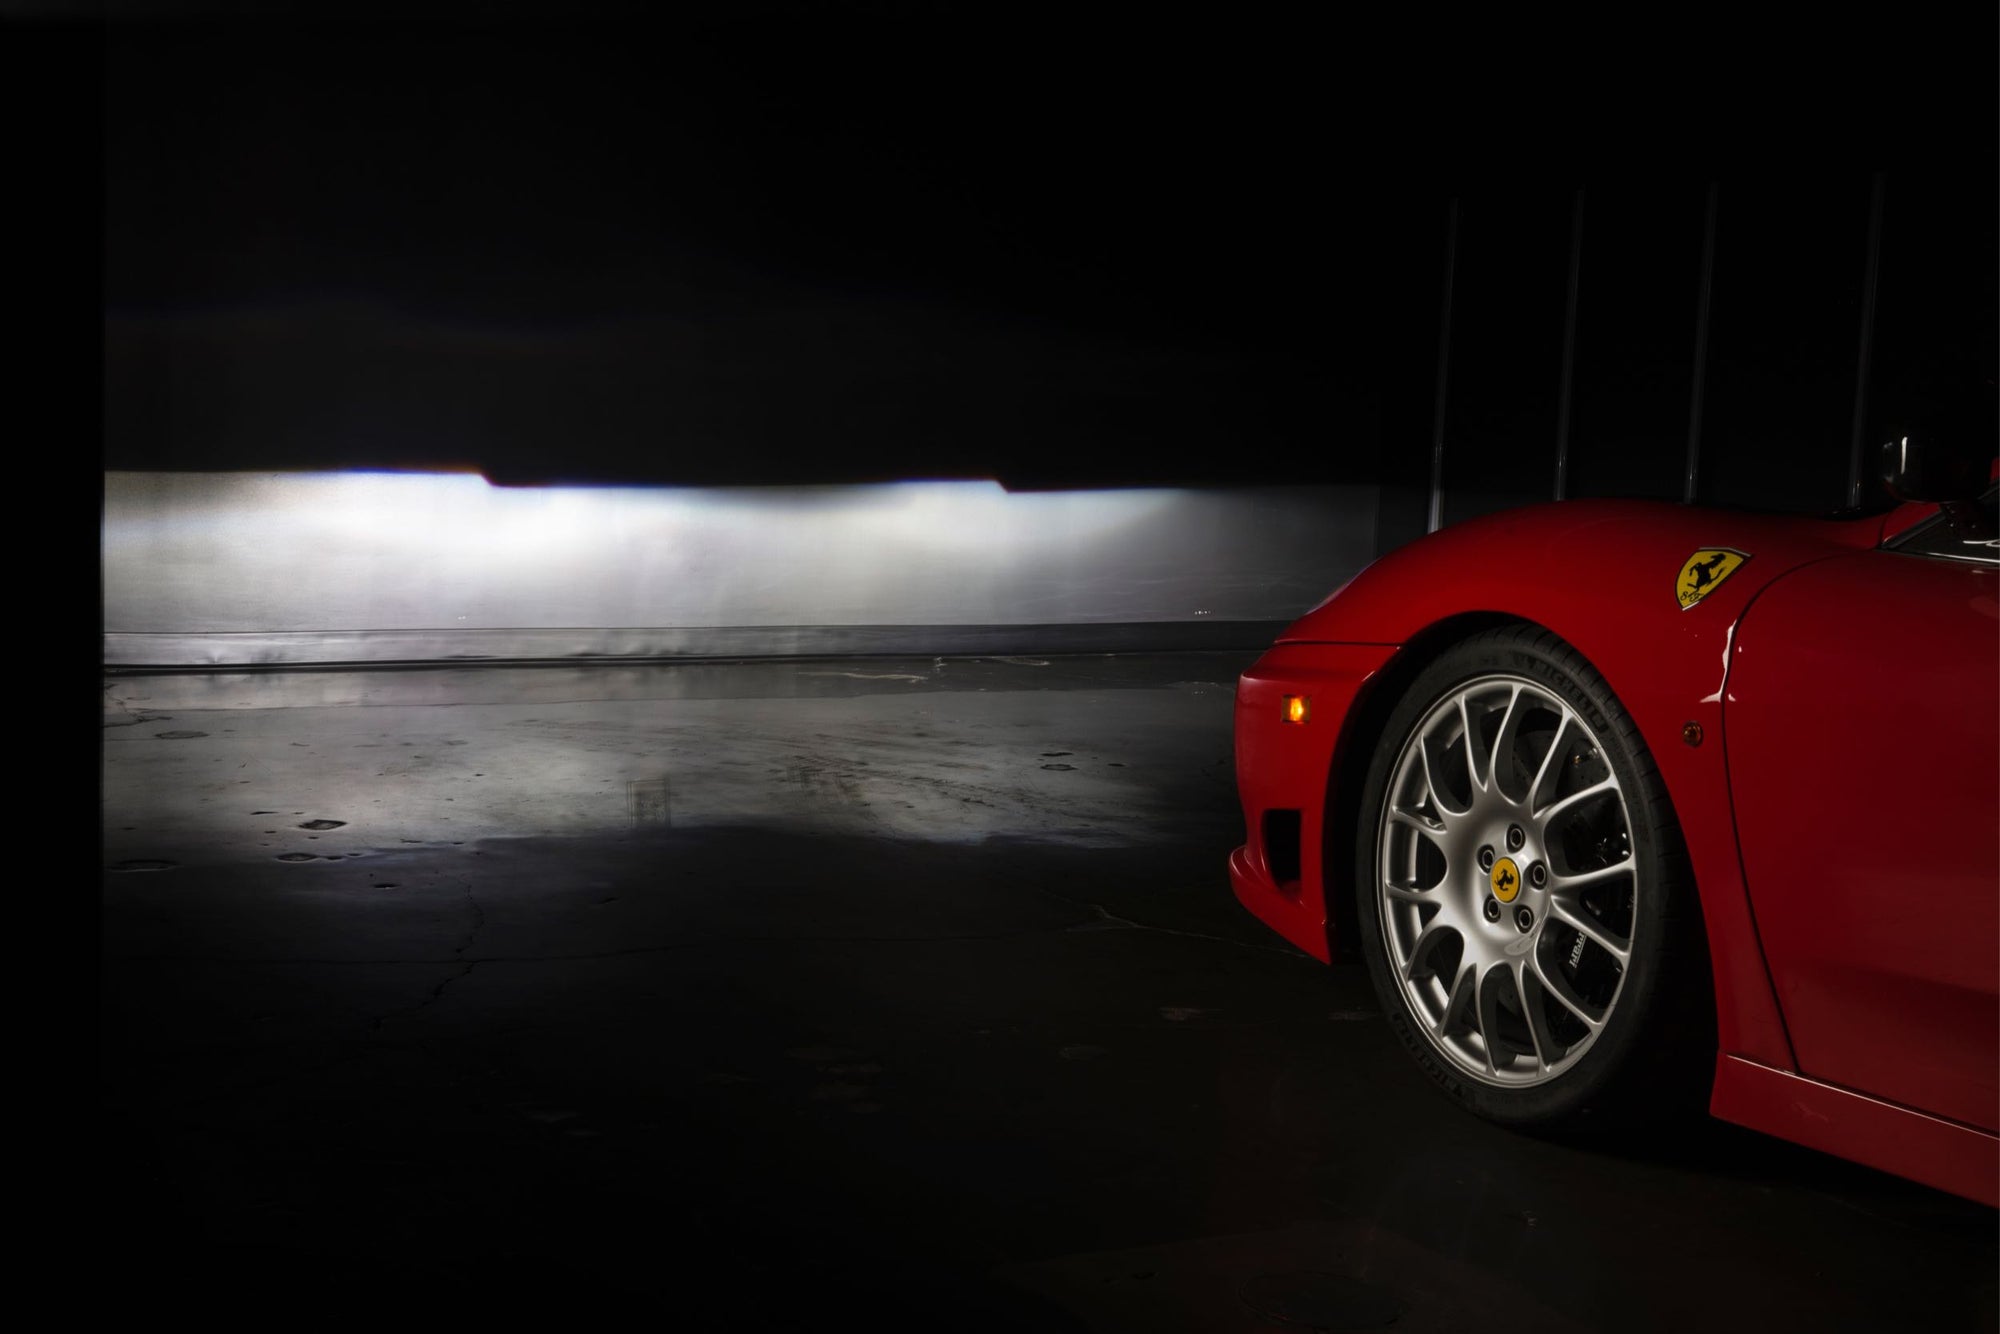
With cutting-edge optics, Founders Ferrari headlights deliver nearly 300% more brightness than stock HID units. Featuring Bi-LED projectors for low beams and a dedicated LED high beam, they offer dramatically improved visibility, sharper beam patterns, and modern performance without changing their appearance at all.
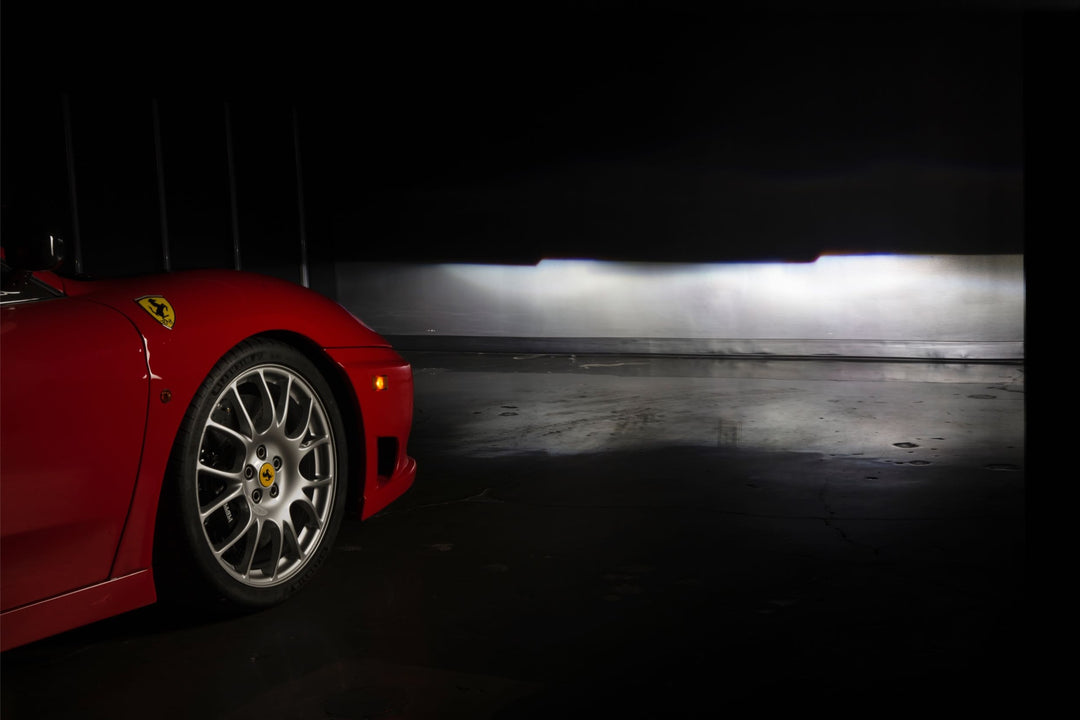
More light output doesn’t mean more glare—Founders Ferrari 360 headlights are engineered for performance and precision. Fully DOT and E-mark compliant, they meet road safety standards worldwide and are available in both LHD (USA) and RHD (UK, AU, JP) configurations for proper beam control.
OEM+ Fit and Finish: Built as a true plug-and-play upgrade, these headlights use all original mounting points and wiring with no modifications required. Made from all-new components—not refinished OE—they include fresh rubber gaskets and a modern anti-UV lens coating for improved durability and fade resistance.
1. Remove the smaller city-light lens: There are 2 clips at 3 and 9 o-clock. Pull this one out from the front-side, wiggling it from side to side.
2. Remove the bigger turn signal lens: Remove the two screws from the backside, then pry it off, pushing it out the back (from the front side).
3 Scuff the Surface: Prep the raw plastic bezel using a red Scotch-Brite pad to promote adhesion.
4. Clean the Panel: Wipe thoroughly with a wax and grease remover to eliminate surface contaminants.
5. Apply Adhesion Promoter: Spray an even coat of plastic adhesion promoter to ensure proper paint bonding.
6. Prime the Surface: Use a water-based primer; apply 2 medium coats for even coverage.
7. Sand Smooth: After the primer cures, sand the surface with 600-grit sandpaper to smooth imperfections.
8. Apply Sealer: Spray a 2-part sealer to create a uniform base and improve topcoat adhesion.
9. Apply Basecoat: Use a solvent-based basecoat (we recommend BASF Glasurit) in your desired body color.
10. Finish with Clear Coat: Protect the finish with 2–3 coats of high solids clear for depth and durability.
11. Re-install internal lenses: In reverse order of removal. Use a sealer on the back of the turn signal unit before affixing with screws.
12. Sealing: Use the RetroRubber Butyl Rubber sealant from Morimoto and watch This Video from LightWerkz (or contact them, they also offer these services)
★★★★★My original 360 headlights were yellowed and hazy...pretty much useless at night. These Founders Carbon headlights were the perfect fix. Not only do they look amazing, but the light output is a massive upgrade. Driving at night feels safer and sharper now. Wish these were available years ago.
Josh R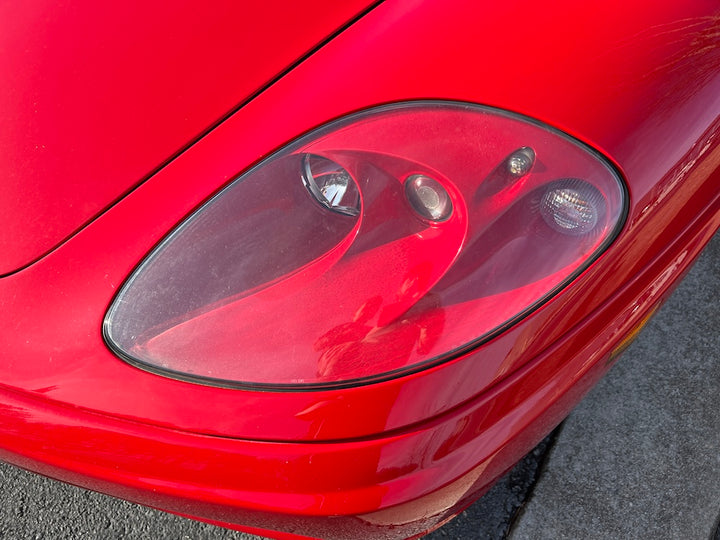 Boulder, CO
★★★★★Had to wait a while for them, but the lights are installed and working well, looking great! Thanks again, they were worth the wait!
Aaron O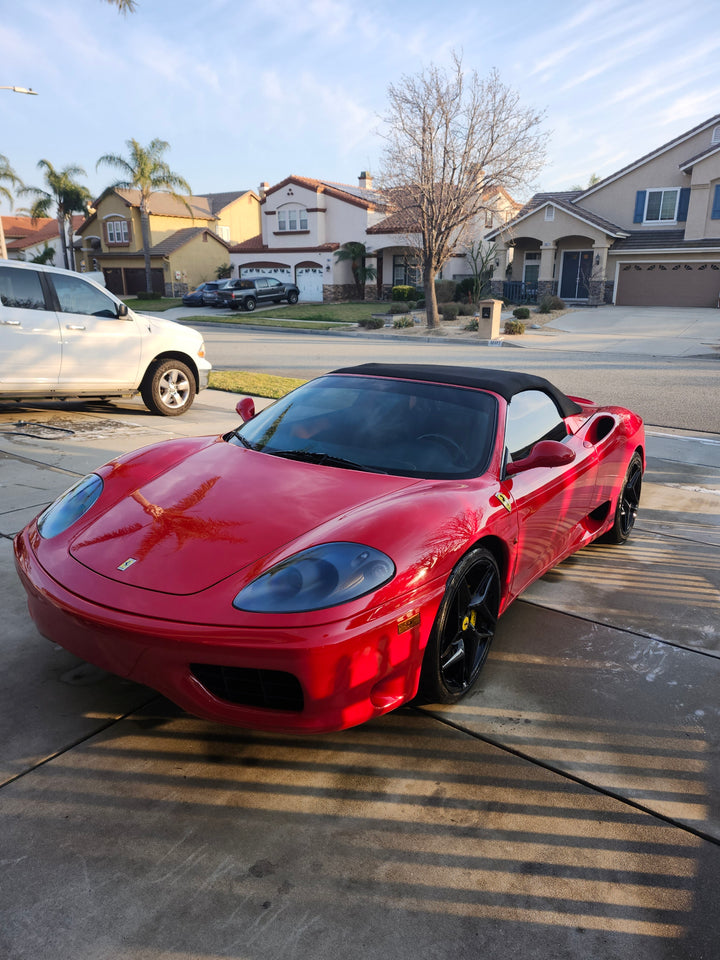 Los Angeles, CA
★★★★★I’m in Nevada where the sun absolutely destroys plastic lenses, and my Ferrari 360’s headlights had seen better days. The Founders replacements are everything I hoped for—crystal clear, OE styling, and they fit like a glove. Totally transformed the look!
Daniel M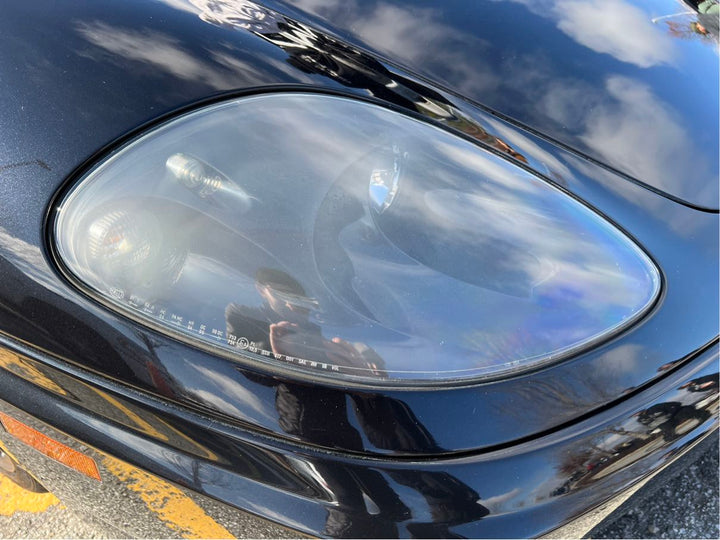 Henderson, NV
★★★★★Hesitant at first...just wasn’t sure how the carbon fiber would look against the TDF Blue paint coming from color matched stock headlights which obviously match. But after the install, I was blown away. The carbon contrasts perfectly, adds a modern edge, and really doesn't look out of place at all. Absolutely love it.
Marco D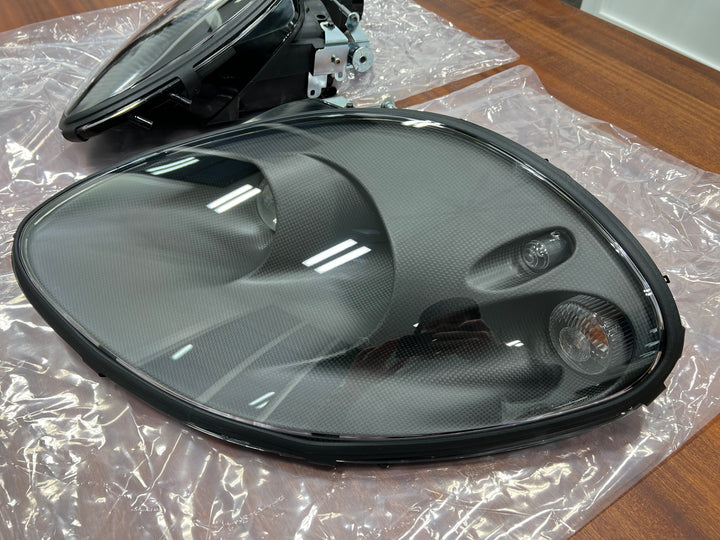 Scottsdale, AZ
★★★★★I first tried a set of replacement lenses I found on eBay, but they kept fogging up and letting in moisture no matter how carefully I sealed them. Finally just bought the Founders Carbon headlights and the car looks so much better now. No more moisture, fit perfectly, and I haven’t had to touch them since. Worth every penny.
Alex T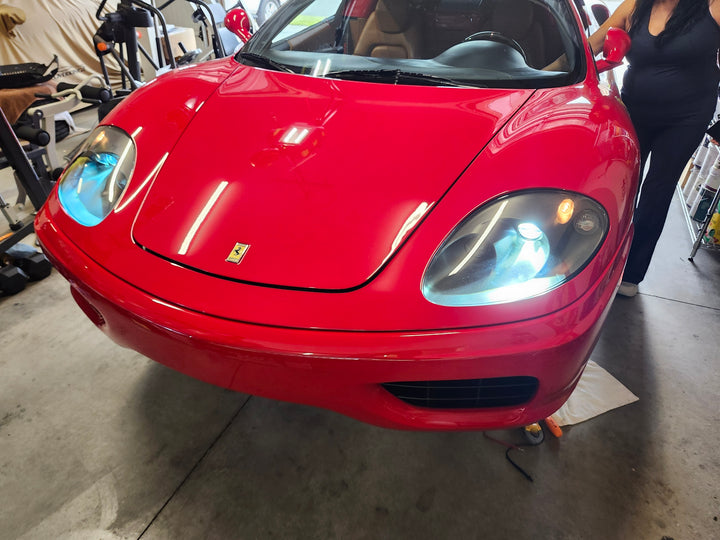 San Diego


